Insta360 GO 2 Hyperlapse Tutorial
12:12 PMIn this tutorial I show you, how you can create amazing hyperlapse shots with the Insta360 GO 2*!
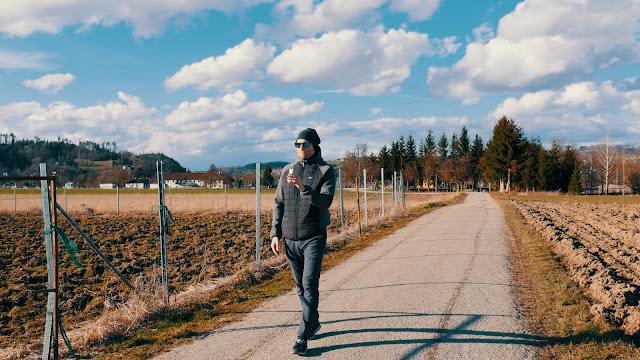
To be honest, the Insta360 GO 2* blow my mind, after I saw the hyperlapse results. In my opinion the hyperlapses are incredibly good, if you consider the Shots were made without a gimbal or any other accessories! Just the Insta360 GO 2* carried handheld.
Check out my Insta360 ONE GO 2 Hyperlapse Tutorial video here:
All the hyperlapse shots in the video, were taken with the Insta360 GO 2 in the timelapse mode!
If you also want to create such awesome Hyperlapses with your Insta360 GO 2, follow these steps:
STEP 1:
Open the case and power on your Insta360 GO 2. Then switch to the timelpase mode and make sure the following settings are selected.
To change the settings, long press the record button. If you want to create a standard hyperlapse video for youtube select the 16:9 ratio. If you want to create a hyperlapse for Instagram or Tiktok select 9:16. Choose the highest possible resultion: 1440p and 30fps. The field of view is not important, because you are able to change it in post-production. The next setting is the most important one! Make sure to select the lowest time parameter, which is 0,5 seconds. 0,5 seconds means, the camera records a frame every half second. I would also recommend you, to use the vivid color profile. Now the Insta360 GO 2 hyperlapse settings are complete and we can start recording.
STEP 2:
This is the part where you can get creative! Find an interesting Spot where you can record an awesome hyperlapse. Here are some examples:- The classic one! Just walk straight foreward and record it!
- Center an Object! Find an interesting object and always try to center the object in your frame.
- Tilt up! Walk towards a building and tilt the camera up when you get closer.

STEP 3:
When you’re done with your recordings, we can start with the post production. You can use the Insta360 Smartphone APP or the Insta360 Studio on your PC. In this example I use the Insta360 Studio Desktop Software.
In the first step you import the RAW Insta360 GO 2 Hyperlapse video.
Make sure the “FlowState Stabilization is activated”. This is very important for a smooth hyperlapse result.
Make sure the “FlowState Stabilization is activated”. This is very important for a smooth hyperlapse result.
You can choose different FOV Options. I recommend you “Linear”. This leads to a de-warped image and an even smoother stabilization result.
Now the hyperlapse already looks really good, but you can still improve it. Use the TimeShift function and speed up your video. Select the start point click on the timeshift symbol and then set the end point.
The TimeShift factor depends on the situation, but I would recommend you to use 2x or 4x!
The last step is the “Motion Blur” option. Activate the motion blur function for a natural looking hyperlapse video.
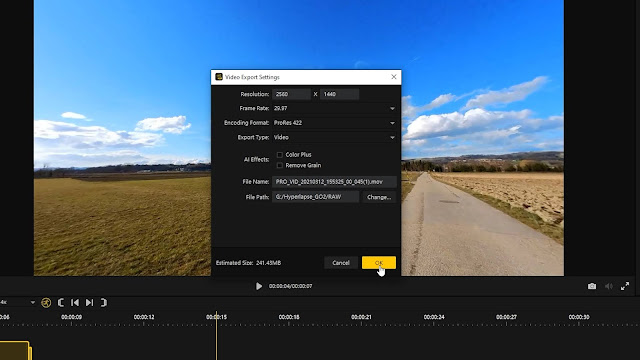
The motion blur effect is only visible after the export. Click on the export button, choose your desired export format and export the hyperlapse video.

Now you can enjoy the final Insta360 GO 2 hyperlapse. Get creative and try it out yourself!
If you’re impressed by the results which you achieve with the Insta360 GO 2, get your Insta360 GO 2 now!
If you want to purchase an Insta360 GO 2*, check out this link:
Additionally, I can offer you an Insta360 coupon code, where you can save up to 15$ if you buy the Insta360 GO 2 through my link:
Attention! Strongly limited!
If you enjoyed the review, subscribe to my Gimbal Guru Youtube-Channel and look forward to more camera reviews, tutorials and test videos!
* = Affiliate Links


0 comments